SSH Key Authentication
Last updated: April 2026
SSH key authentication uses asymmetric cryptography to authenticate without transmitting a password over the network. A key pair consists of a private key (kept secret on your workstation) and a public key (placed on every remote host you need to access). This method is more secure than password authentication and enables unattended automation.
Generating an SSH Key Pair
Ed25519 (Preferred)
Ed25519 keys are shorter, faster, and considered more secure than RSA for new deployments. Generate one from a terminal or PowerShell prompt:
ssh-keygen -t ed25519 -C "yourname@workstation"When prompted for a file location, the default is:
- Windows:
C:\Users\<username>\.ssh\id_ed25519 - Linux/macOS:
~/.ssh/id_ed25519
You will be asked for a passphrase. Using a passphrase is strongly recommended — it encrypts the private key at rest so that a stolen key file alone is not sufficient to authenticate.
RSA (Broad Compatibility)
Some older devices (legacy Cisco IOS versions, older embedded systems) do not support Ed25519. In those cases, use RSA with a minimum key size of 4096 bits:
ssh-keygen -t rsa -b 4096 -C "yourname@workstation"The default output files are id_rsa (private) and id_rsa.pub (public).
Deploying the Public Key to Remote Hosts
Linux / Unix Servers
The public key must be appended to the ~/.ssh/authorized_keys file on the remote host. The easiest method from a Linux or macOS workstation is:
ssh-copy-id -i ~/.ssh/id_ed25519.pub user@hostnameThis command connects via password authentication, creates the ~/.ssh directory if needed, and appends your public key with the correct permissions.
If ssh-copy-id is not available (Windows, for example), you can do it manually. First, copy the contents of your public key file, then on the remote host:
mkdir -p ~/.ssh
chmod 700 ~/.ssh
echo "ssh-ed25519 AAAA...your-key-here... yourname@workstation" >> ~/.ssh/authorized_keys
chmod 600 ~/.ssh/authorized_keys
Cisco IOS
To configure public key authentication on Cisco IOS devices:
conf t
ip ssh pubkey-chain
  username admin
    key-string
      AAAA...paste your public key here...
    exit
  exit
exit
Note: Cisco IOS wraps long key strings automatically. Paste the key data (without the ssh-rsa or ssh-ed25519 prefix and without the comment suffix) between key-string and the first exit.
Windows OpenSSH Server
For standard users, append the public key to C:\Users\<username>\.ssh\authorized_keys. For administrator accounts, use C:\ProgramData\ssh\administrators_authorized_keys instead. Ensure the file ACL grants read access only to the user and SYSTEM.
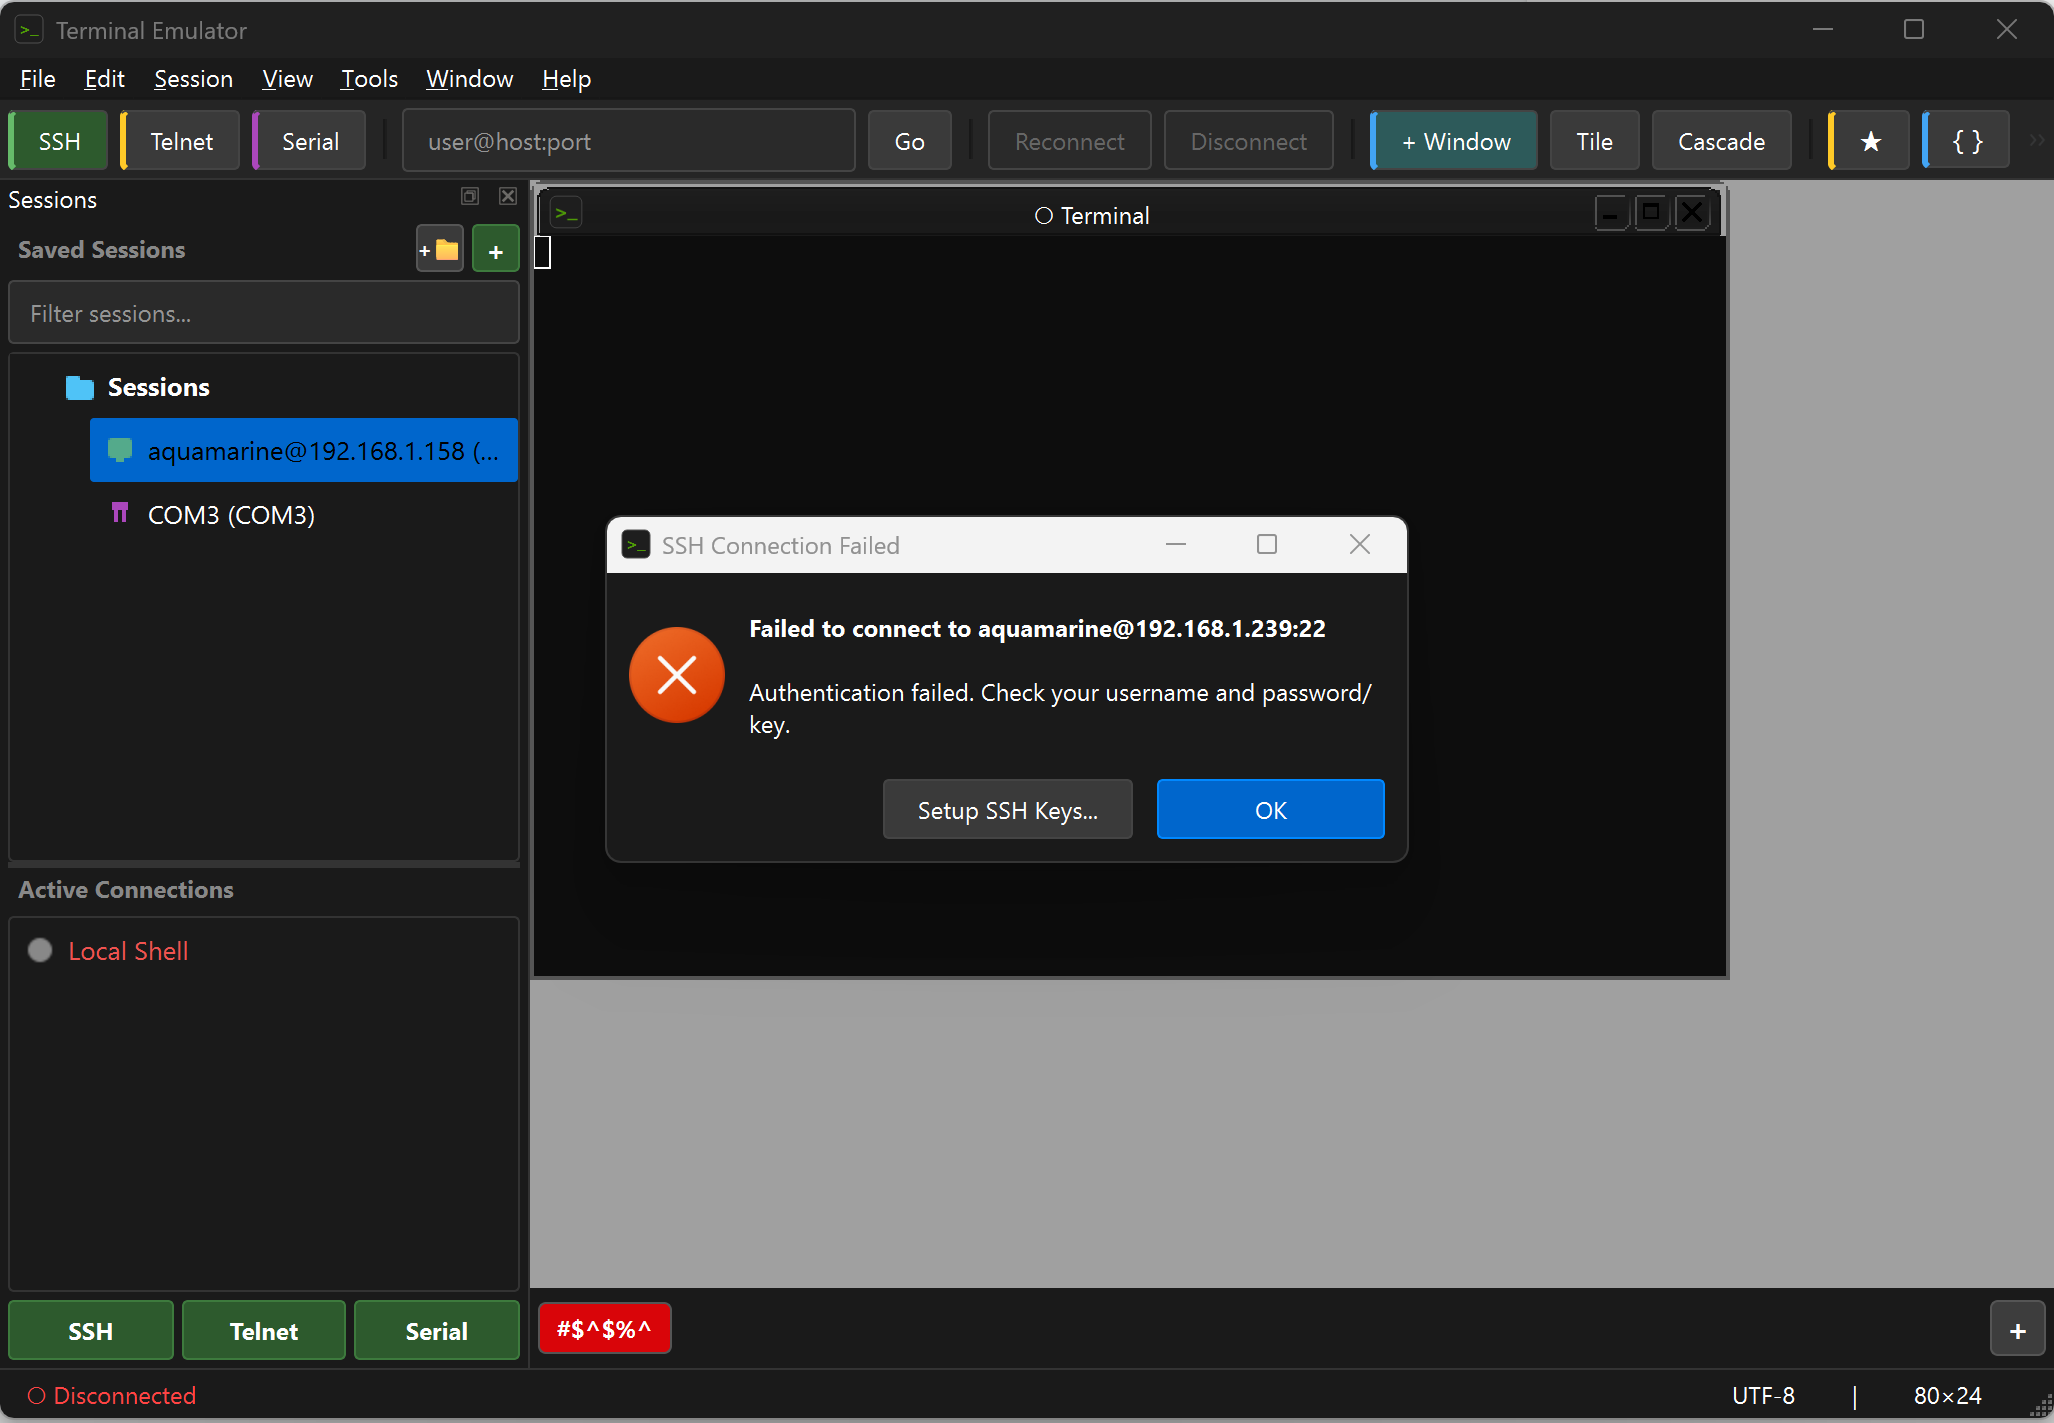
Configuring Key Authentication in RockTerm
- Open the connection profile for the target host (or create a new one).
- Under Authentication, set Method to Public Key.
- In the Private Key field, browse to your private key file (e.g.,
C:\Users\<username>\.ssh\id_ed25519). - If the key has a passphrase, RockTerm will prompt you at connection time. You can optionally store the passphrase in the RockTerm credential manager.
- Click Connect.
RockTerm supports OpenSSH-format private keys natively. If you have a PuTTY .ppk file, you must convert it first (see below).
Troubleshooting Common Issues
Permissions Problems (Linux Remote Host)
OpenSSH is strict about file permissions. If the permissions are too open, the server will silently ignore the authorized_keys file. Verify:
ls -la ~/.ssh/
# Expected:
# drwx------  .ssh/            (700)
# -rw-------  authorized_keys  (600)
# -rw-------  id_ed25519       (600)
# -rw-r--r--  id_ed25519.pub   (644)
Fix permissions:
chmod 700 ~/.ssh
chmod 600 ~/.ssh/authorized_keys
Also verify the home directory itself is not group- or world-writable:
chmod go-w ~Wrong Key Format (PuTTY .ppk vs OpenSSH)
RockTerm uses the OpenSSH key format. PuTTY's .ppk format is not directly compatible. Convert using PuTTYgen:
- Open PuTTYgen and load the
.ppkfile. - Go to Conversions > Export OpenSSH key.
- Save the file (e.g.,
id_rsa_converted) and point RockTerm to this file.
Alternatively, use ssh-keygen to convert:
ssh-keygen -i -f key.ppk > key_opensshsshd_config Settings
Ensure the following directives are set in /etc/ssh/sshd_config on the remote host:
PubkeyAuthentication yes
AuthorizedKeysFile .ssh/authorized_keys
If you want to disable password authentication entirely (recommended once key auth is working):
PasswordAuthentication noRestart the SSH daemon after changes:
sudo systemctl restart sshdSELinux Context
On RHEL, CentOS, Fedora, and derivatives with SELinux enforcing, the SSH directory and files need the correct security context. If key authentication fails despite correct permissions, restore the default context:
restorecon -Rv ~/.sshYou can verify the current context with:
ls -laZ ~/.ssh/The expected type for authorized_keys is ssh_home_t.
Verbose Debugging
If key authentication still fails, test from the command line with verbose output to see exactly where the process breaks down:
ssh -vvv user@hostnameLook for lines such as:
Offering public key: /path/to/key— confirms the client is trying the keyServer accepted the key— key auth succeededNo more authentication methods to try— all methods failed
On the server side, check the auth log:
# Debian/Ubuntu
sudo tail -f /var/log/auth.log

# RHEL/CentOS
sudo tail -f /var/log/secureStill need help?
If you're still experiencing issues, contact us or email info@rockriverresearch.com.